Today I will guide you how to install Windows in parallel with MACOS on the Apple series offline.
To do this, you need to prepare the following:
– Apple Computer (Macbook, iMac) is about 60GB capacity depending on your needs and only 1 partition (with internet connection)
– 1 iso file for windows 10 installation, to download iso files, you can use Windows Media Creation tool.
Note: You should download the iso file with only one version in it and the iso file name has no space.
Okay, that’s enough toys, now let’s proceed.

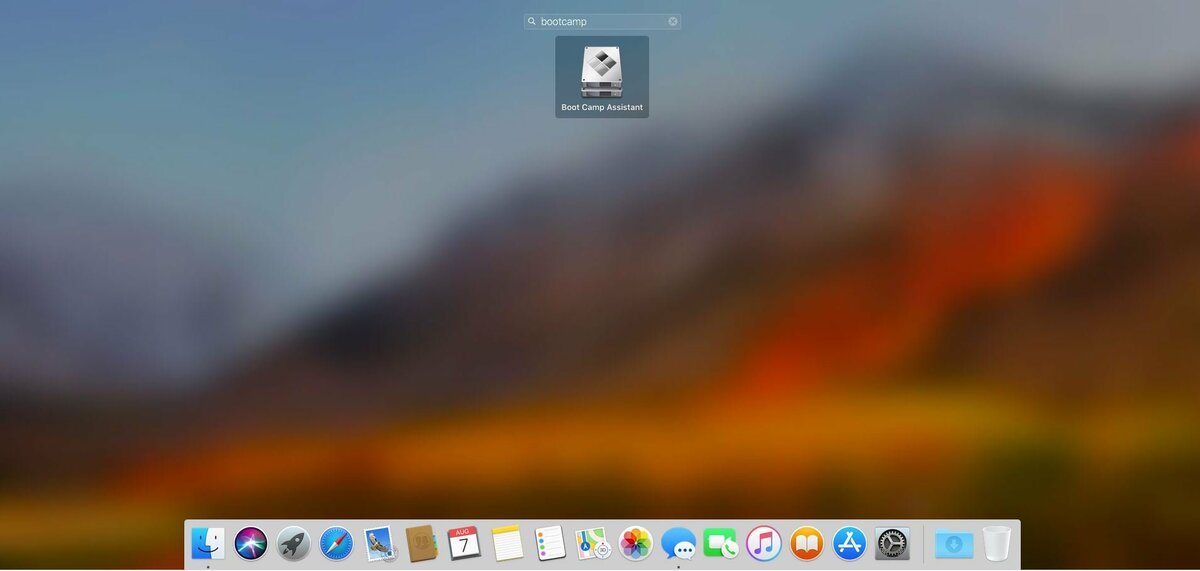
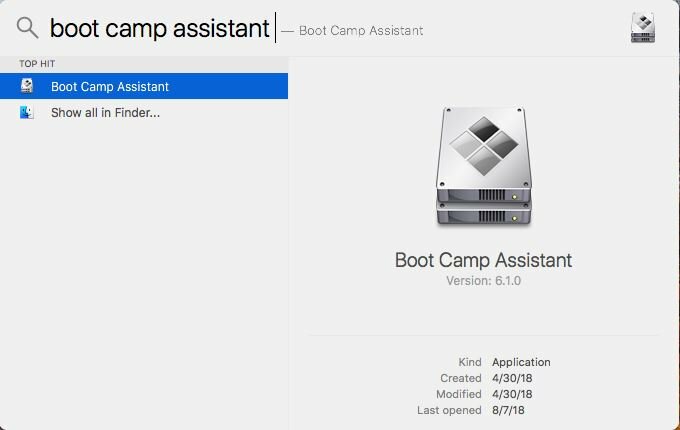
First, please back up all important data (don’t worry about it right), then go to Launchpad , type ” Boot camp ” in the search box or use the Command-Space shortcut bar to search
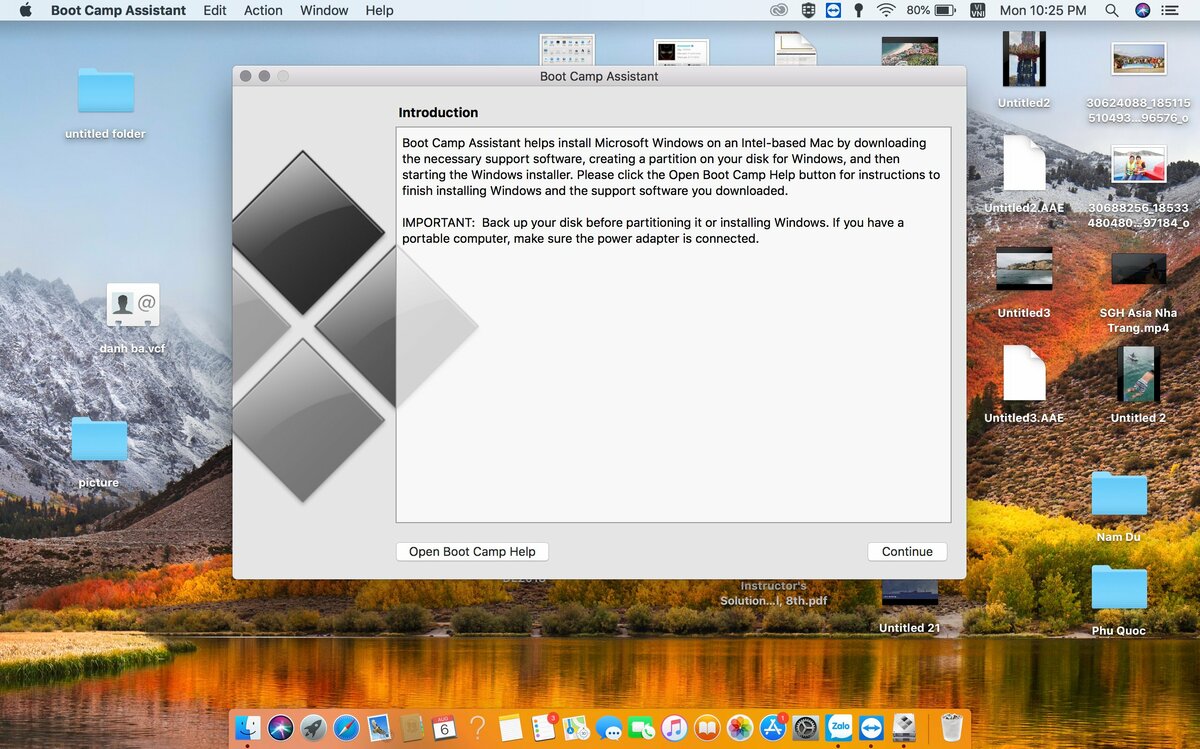
Next, you will see the Boot Camp Assistant software open, you choose ” Continue “
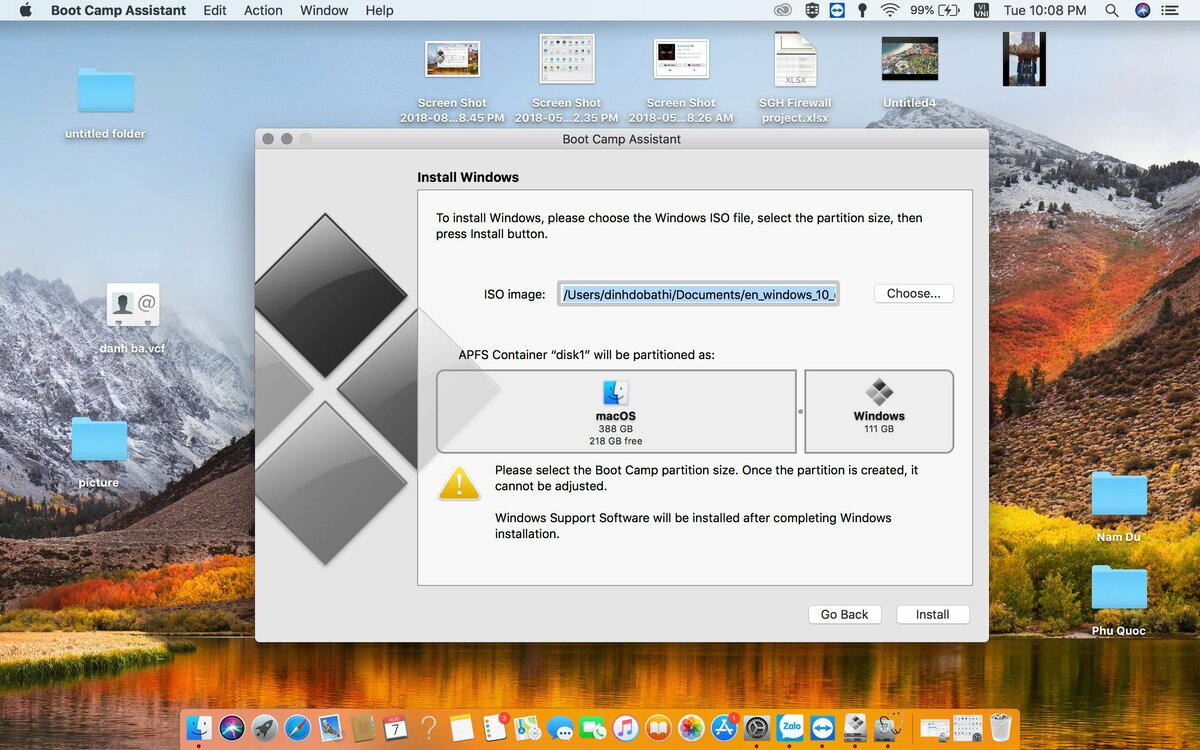
Next, you select the iso file containing the Win installer that you have prepared in advance by selecting ” Choose … ”
Below, you can select the size of the Windows drive you want by lying on the dot. round in the middle of 2 partitions.
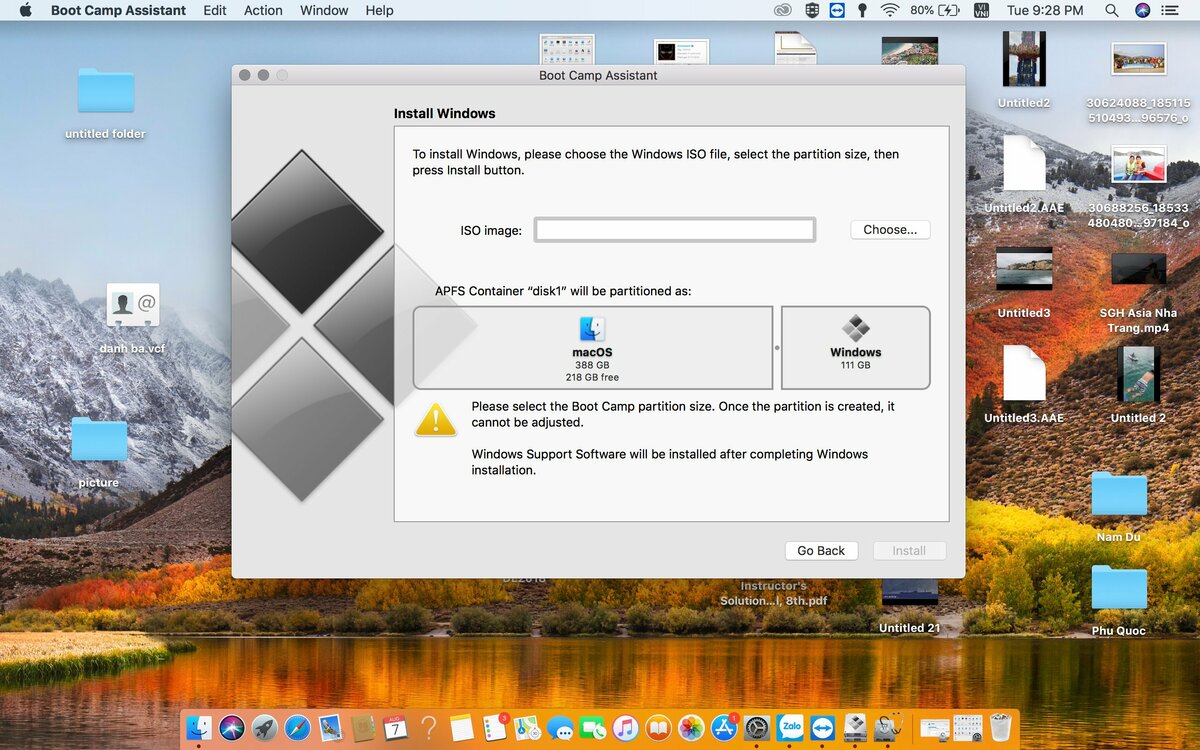
After selecting, click ” Install “. Next, let the Boot camp automatically do the rest. There are 2 notes you need to pay attention to when coming to this step: 1. You have to remove devices such as hard drive, memory card … from machine 2. You have to name the iso file without characters. special or white space, these 2 things will make your installation process error.
- How to install Windows 10 without an ISO(Opens in a new browser tab)
- Prevent Microsoft from installing Edge Chromium on Windows 10(Opens in a new browser tab)
- Fix the error of not connecting Wifi Windows 10 when the password is changed(Opens in a new browser tab)
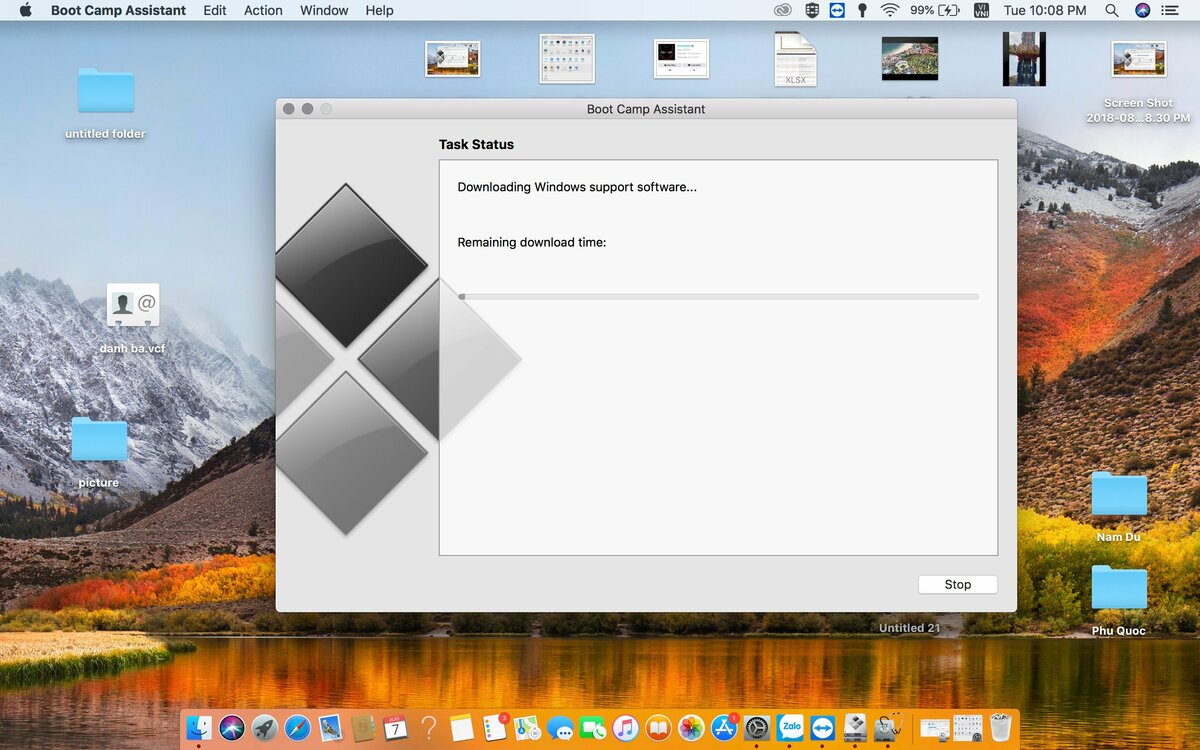
The installation time will depend a lot on your network, so take it a little bit.
During the installation process, you will need to enter the user password again.
After installation is complete, this time the machine will restart, you watch and press the Options
key to show the following boot menu:
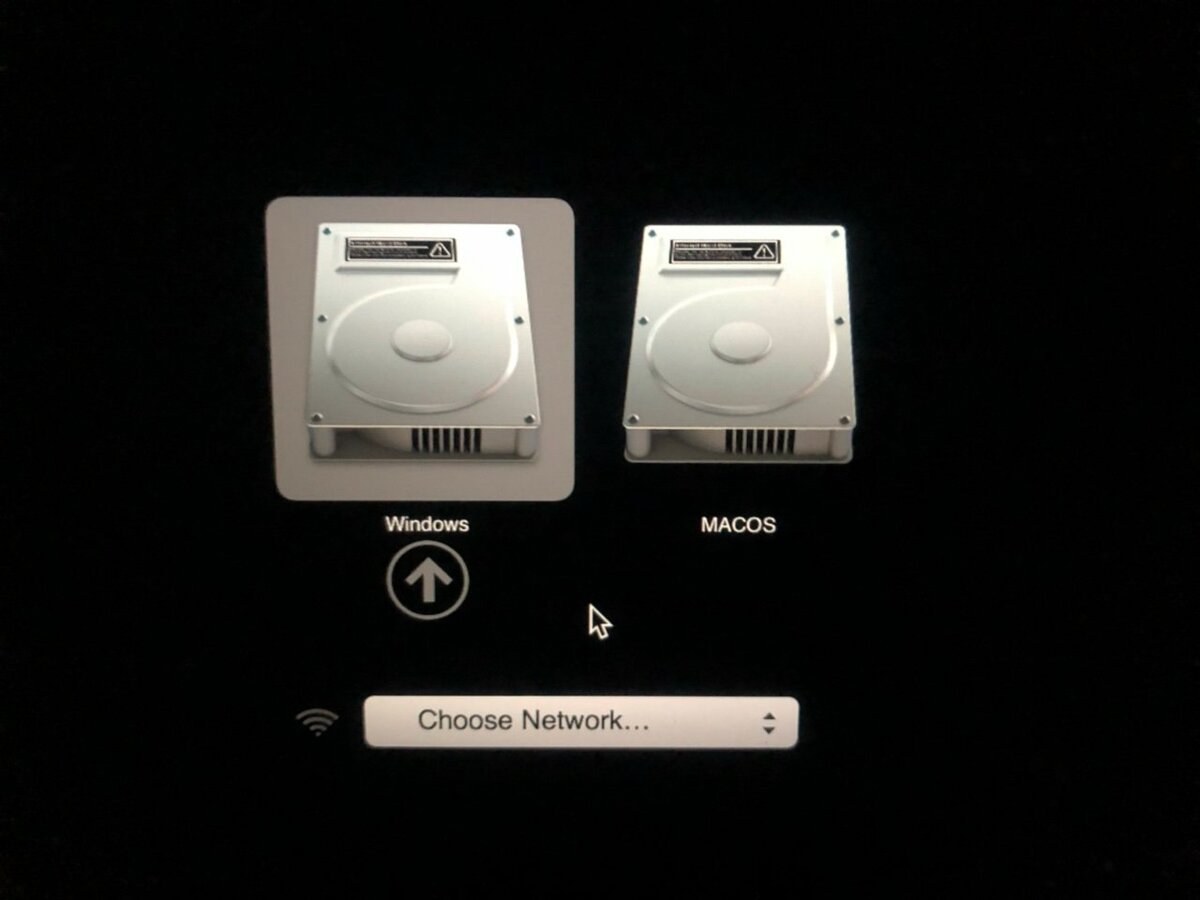
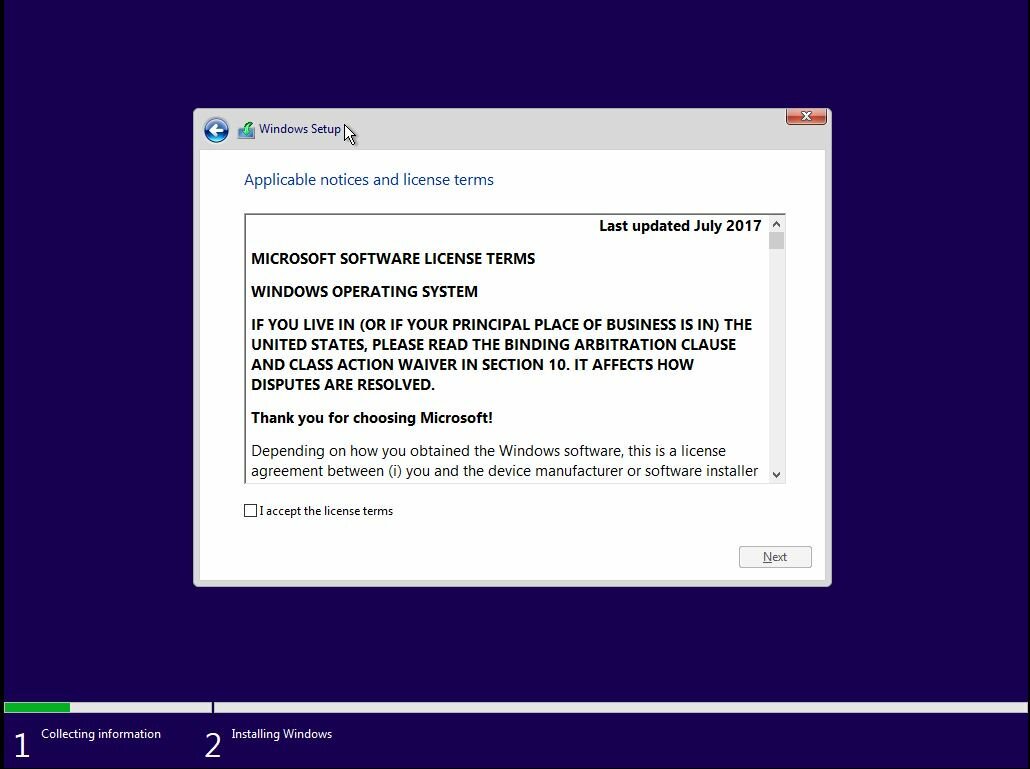
You select the partition named ” Windows ” to continue the installation process, then you will be taken to the familiar Win installation screen. You will need to follow the familiar steps in your previous post.
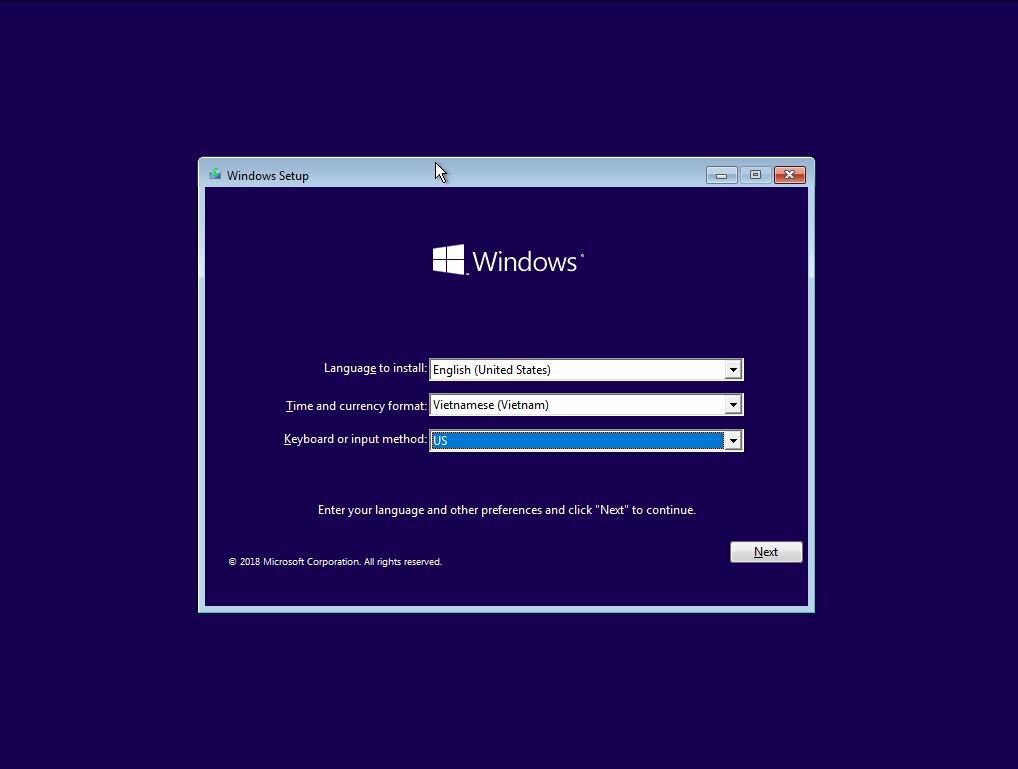
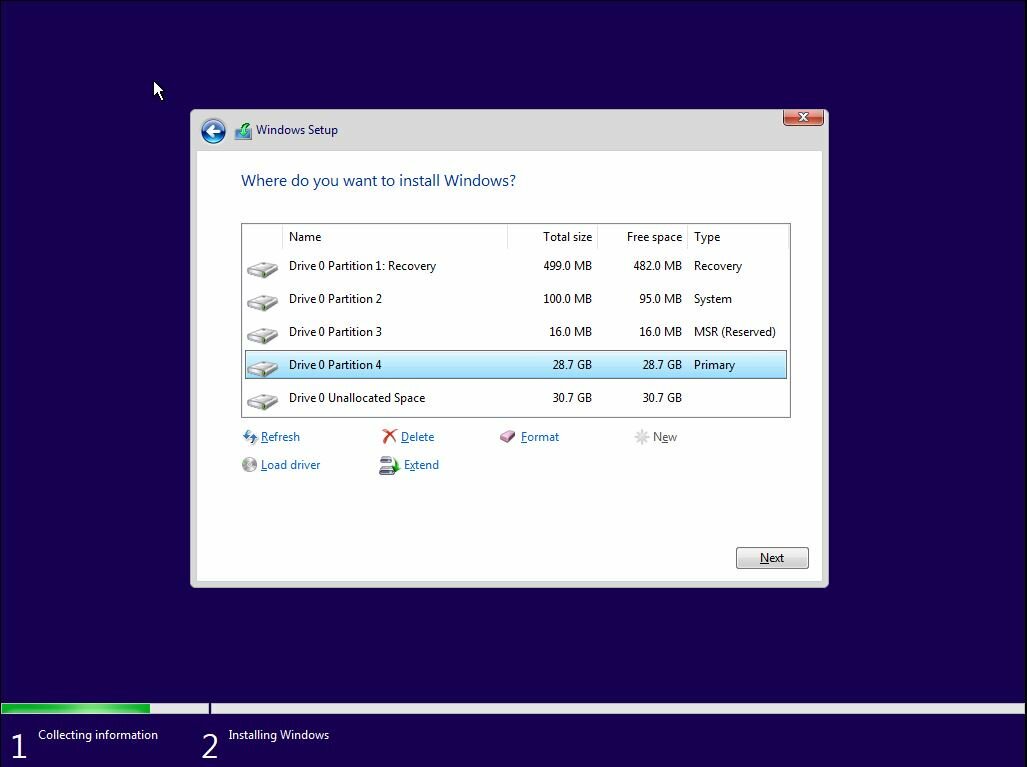
In this step, you select the partition named BOOTCAMP and click Next.
You note: during the installation process, the machine will automatically restart, please remember to press and hold the Option key when it restarts and then select Windows.
After the installation process is complete, you will see that Windows’ bootcamp installer program automatically runs, now you will not see Wifi, network card, vga … don’t worry, after Bootcamp finishes running, You will automatically have all
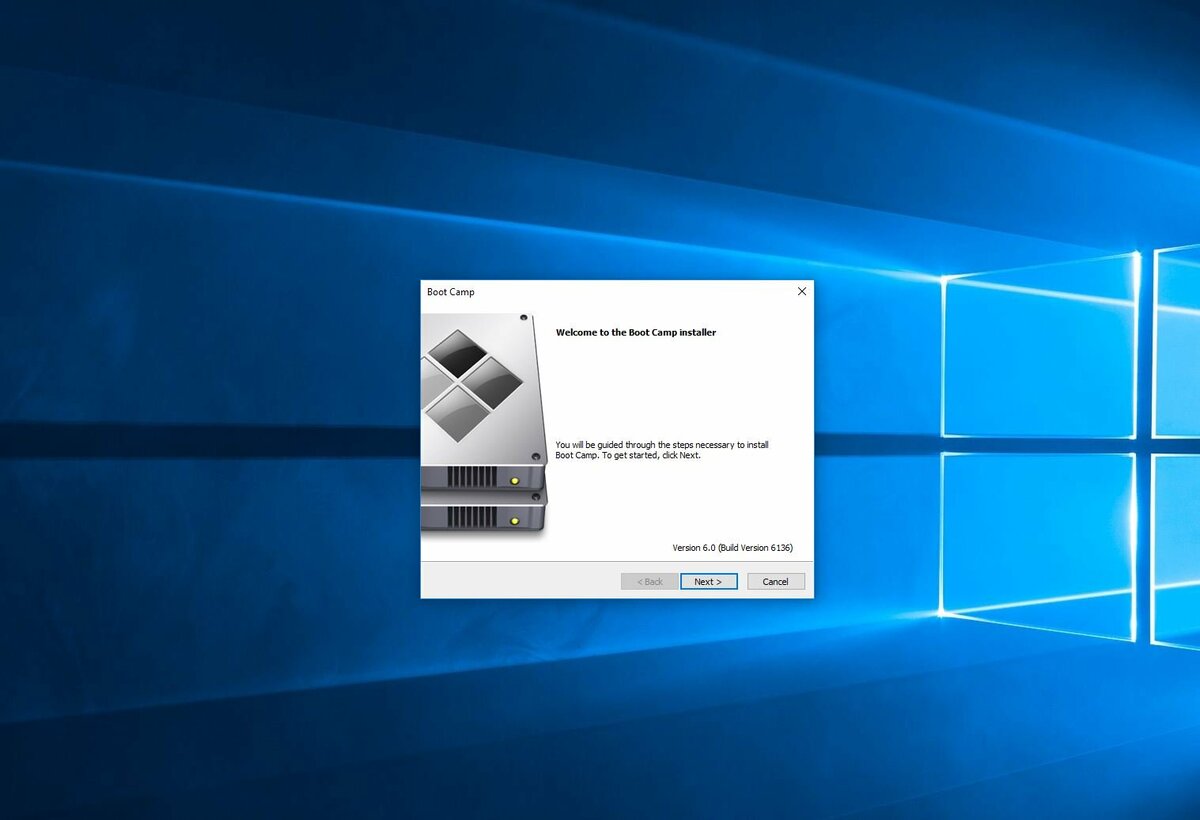
Brothers choose Next
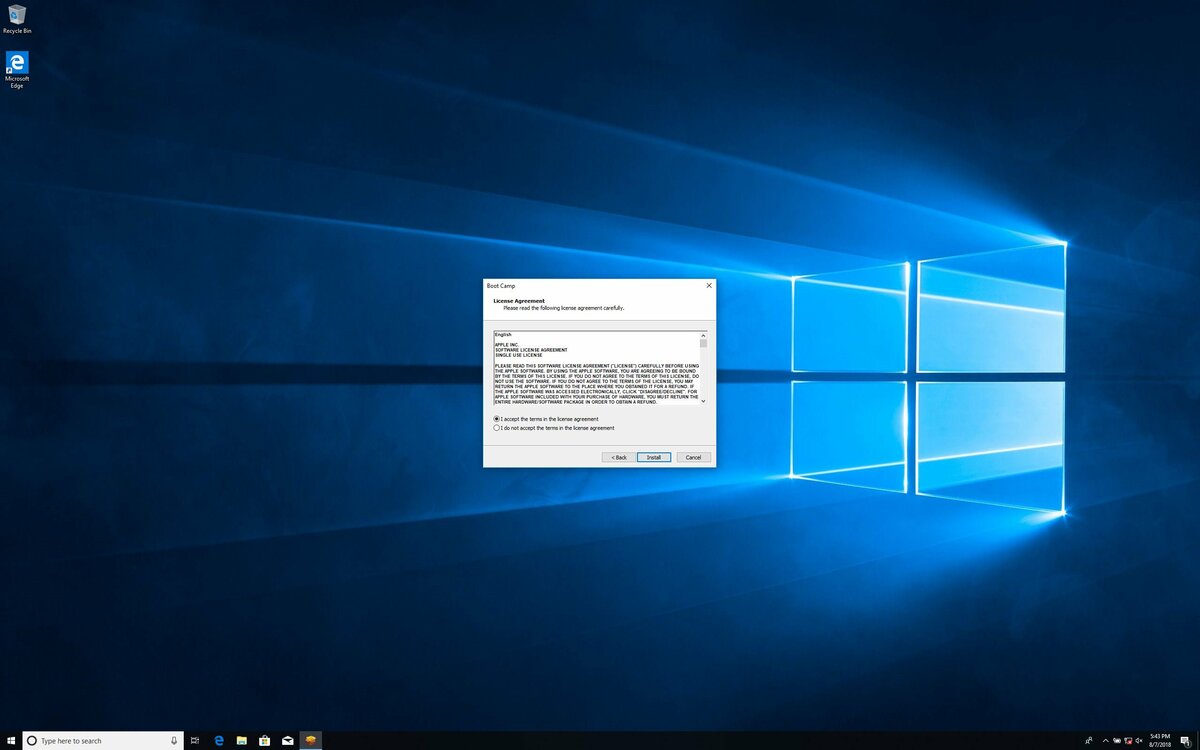
Select Accept and Install
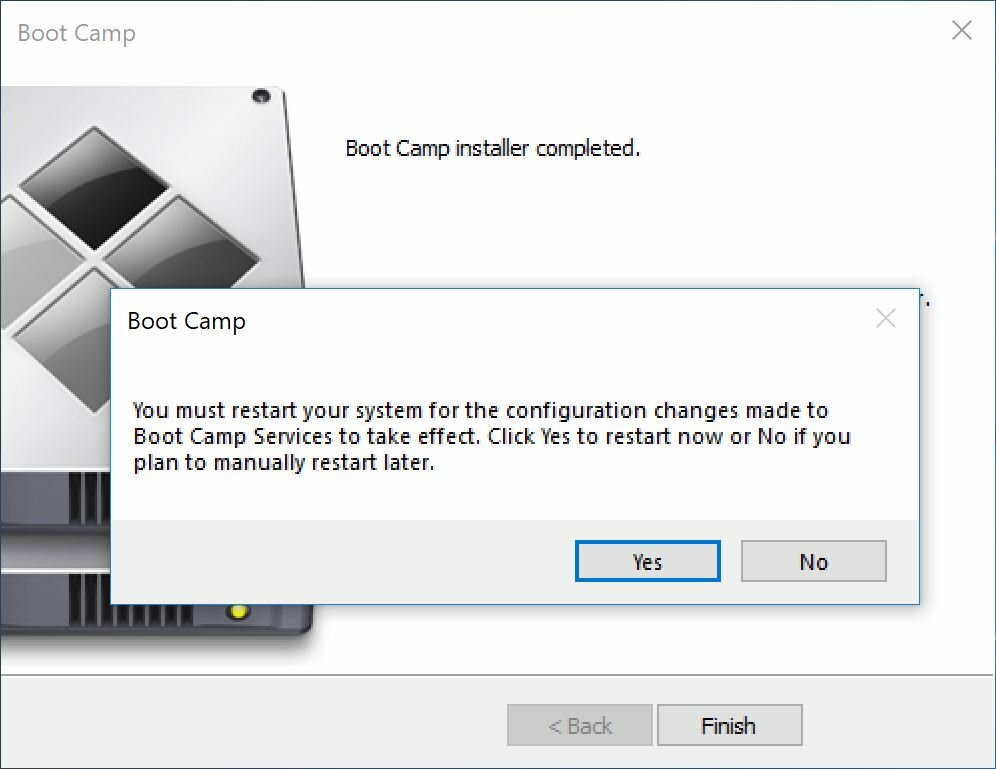
After installation is complete, you need to restart the computer to Win 1 more time.
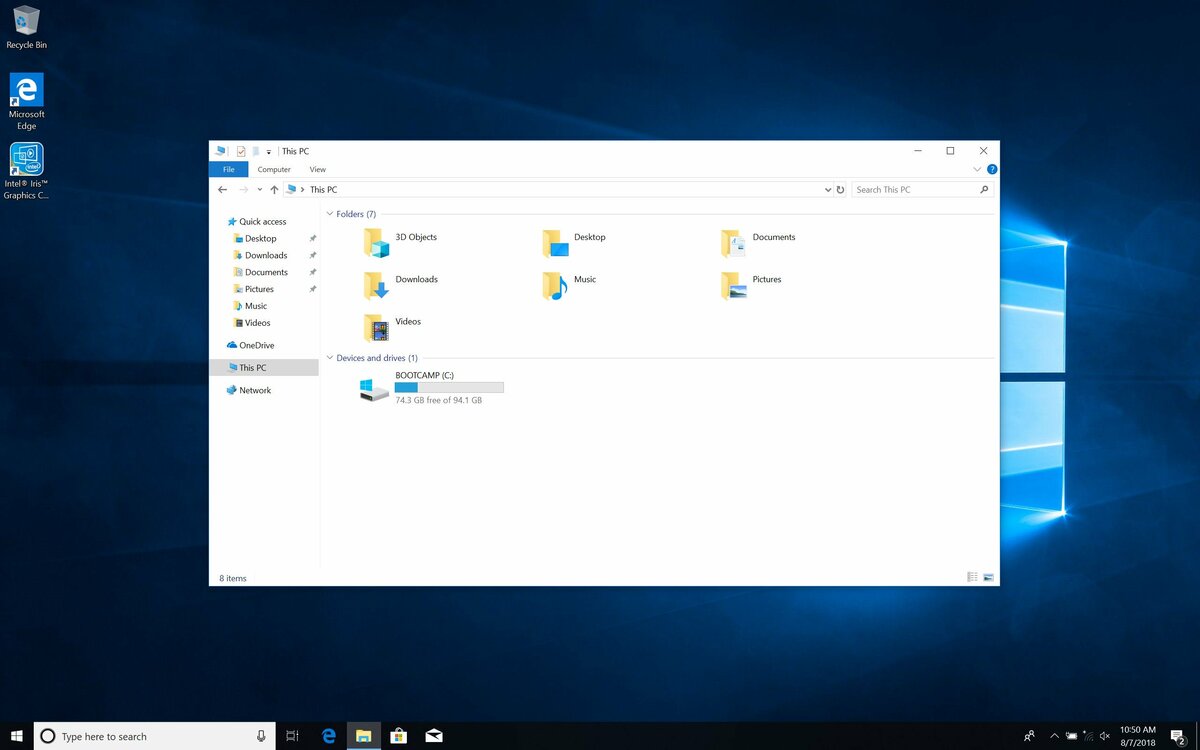
After rebooting, you will have full machine drivers without any extra work.
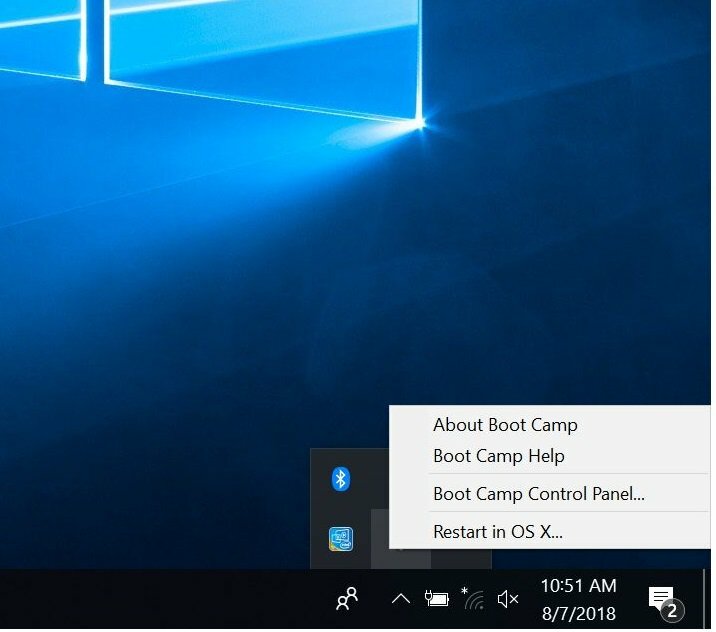
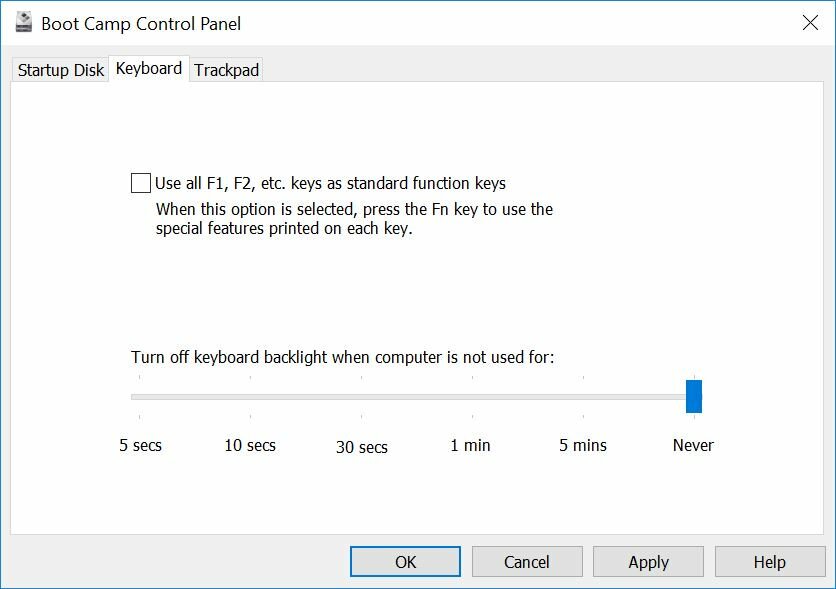
Next, to make it easier to use, I guide you to some things related to Bootcamp. You will see a small icon in the right corner taskbar, you can right click on BootCamp Control Panel or if you want to quickly switch to MacOS then you select ” Restart in OS X “.
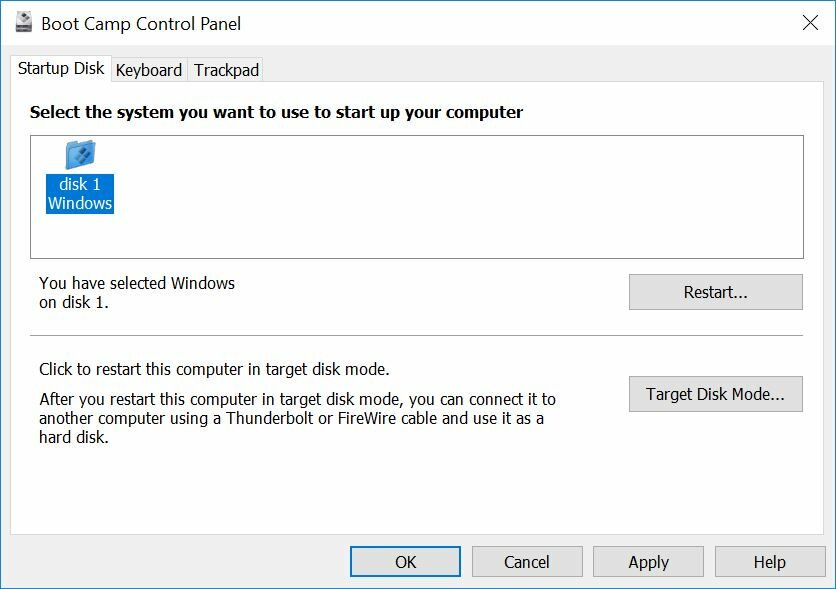
Here, you will configure the machine to automatically enter Win every time you start or press Option, or the functions of the F1-12 keystroke of the machine.
Above is an article detailing the steps to install Windows on Apple Macs, hoping to help MACOS users get more Windows experience on their machines.