The picture below is the main interface of Hassio. You see the middle part of the interface with the items Light, Sun, .. that is our devices, sensors … they are called Entities. On the left, we have the Overview, Map, Logbook entries … Below are the Service buttons, States, … are the support tool buttons. I will say the feature in the article one by one.

1/ Overview:
Is the main interface, contains all the devices integrated into the Hass. In general, nothing special

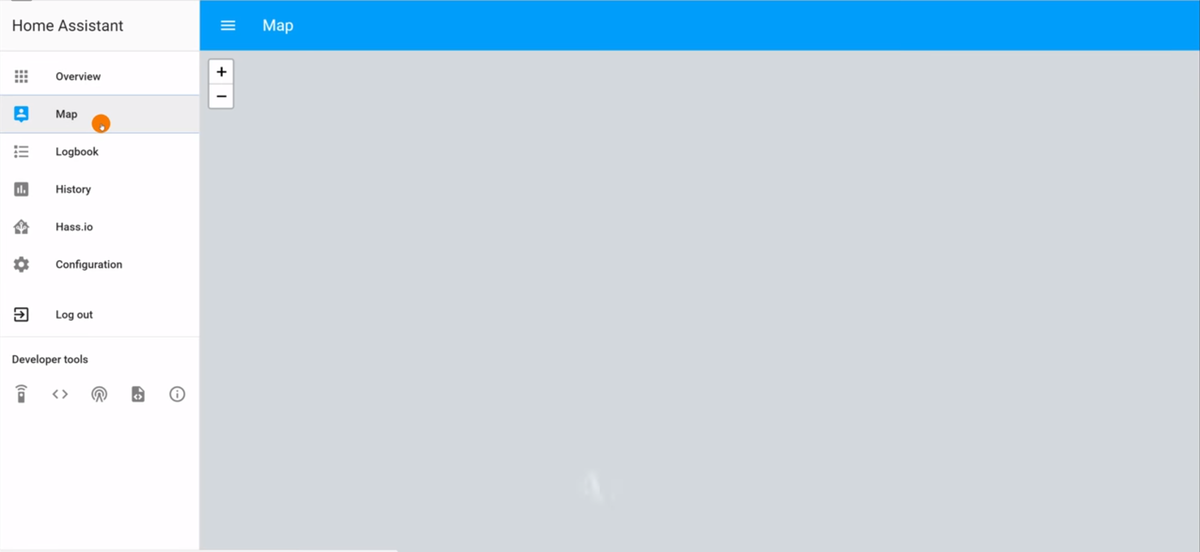
2/ Map:
This is the map part, it will show your location depending on the longitude and latitude that you config in configuration.yaml file, and your positions when using the Device tracker will also be shown here.
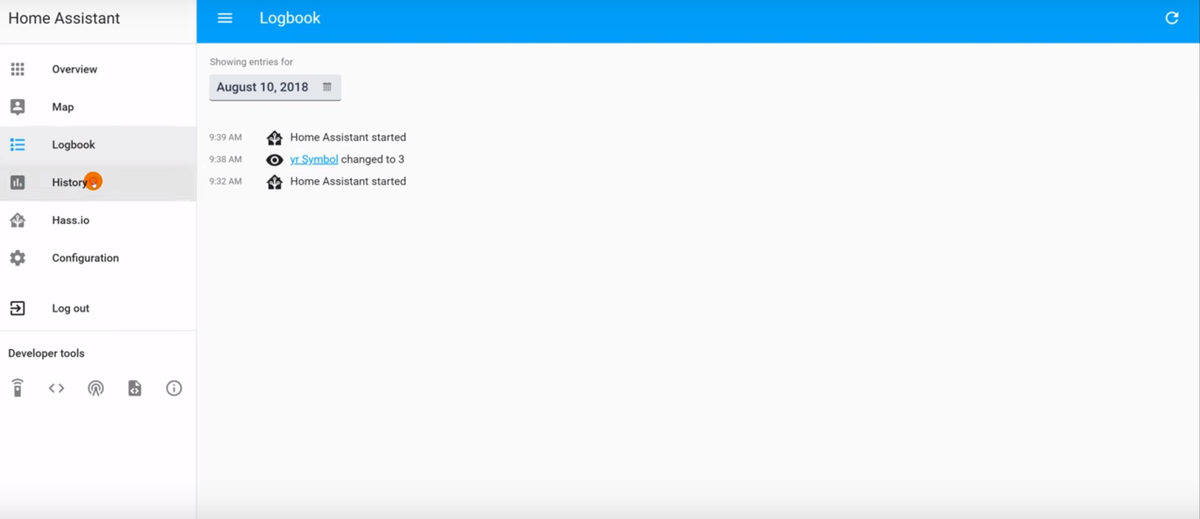
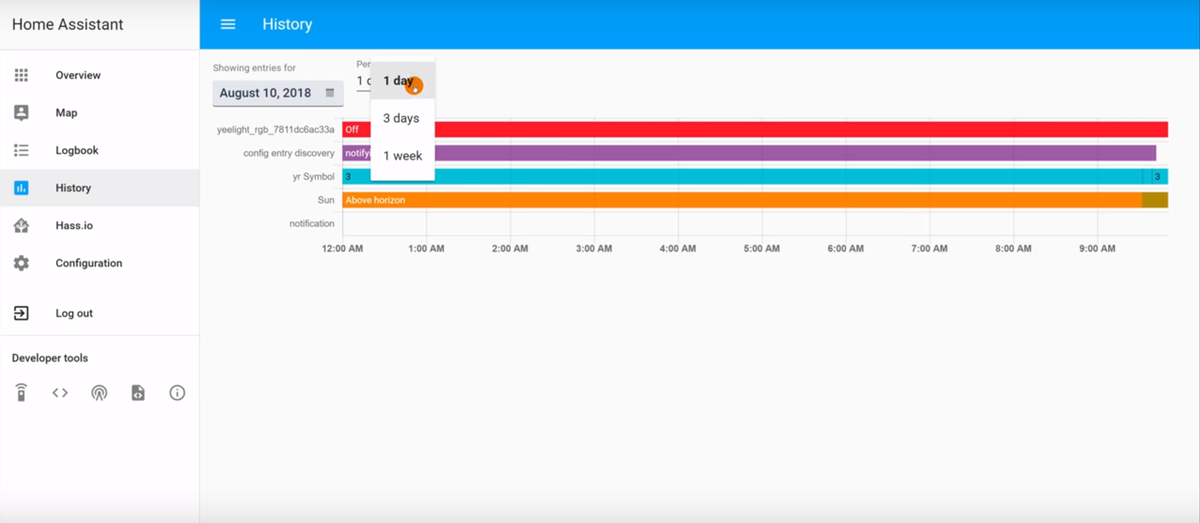
3/ History – Logbook:
You all know that it is not always possible to keep track of the system, so it’s important to record data so that we can review it. Logbook and History make it easier for you to do it. You can view the history of each device in the system with this tool.
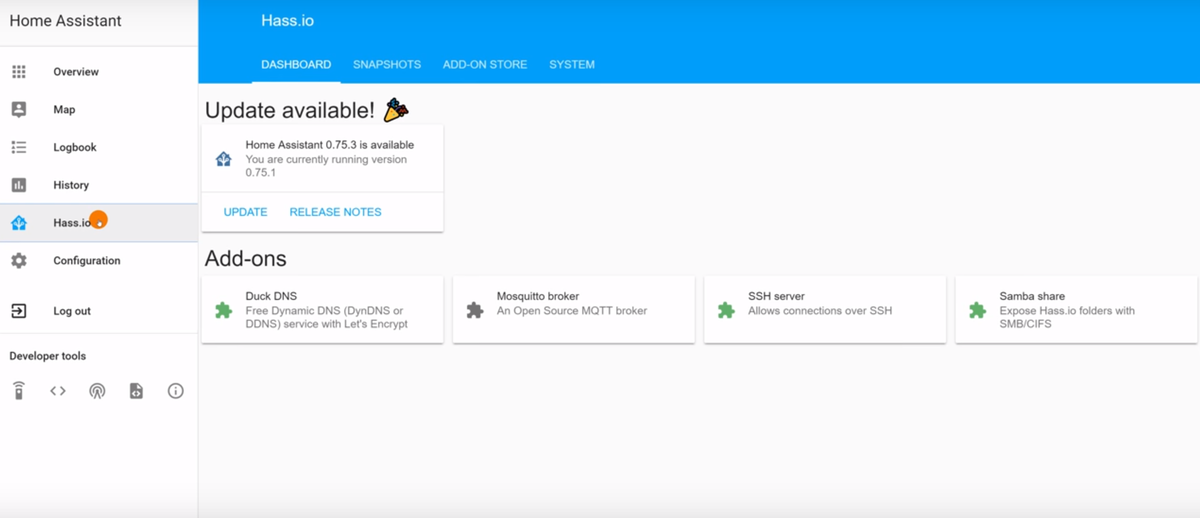
4 / Next is Hass.io:
This is the biggest difference of Hassio with Hassbian. It is a collection of Add-ons, so you can easily install related programs without having to manually craft complicated commands like when you use Hassbian. This is an advantage for novice users, but will limit the scalability of the system if you need to expand. But this problem is quite wide so it will be discussed later.
In Hass.io, open the add-ons store, which contains the collection of add-ons that the community contributes to. You already know through lesson 1.2 already
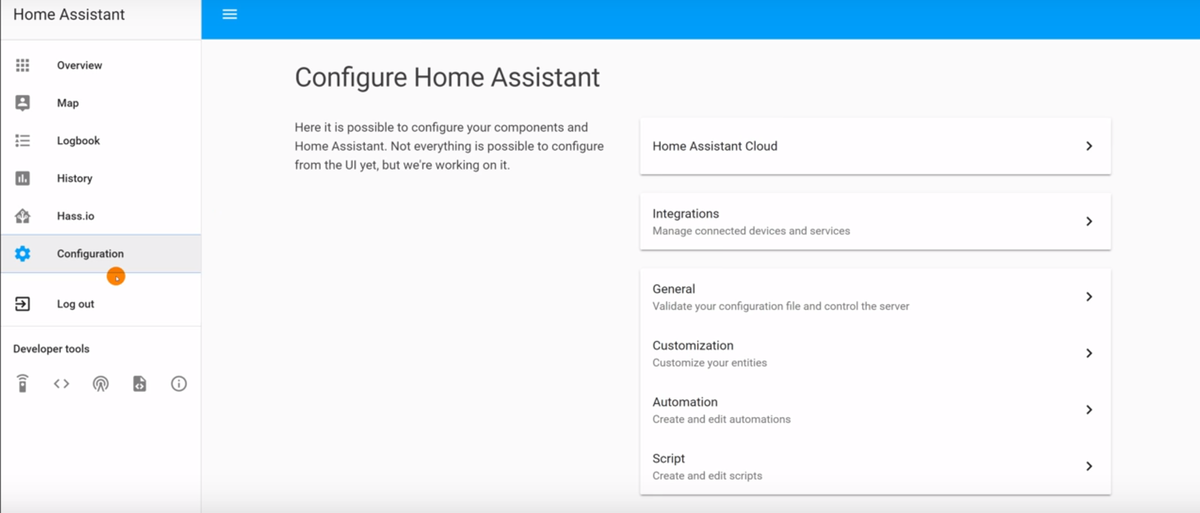
5/ Configuration:
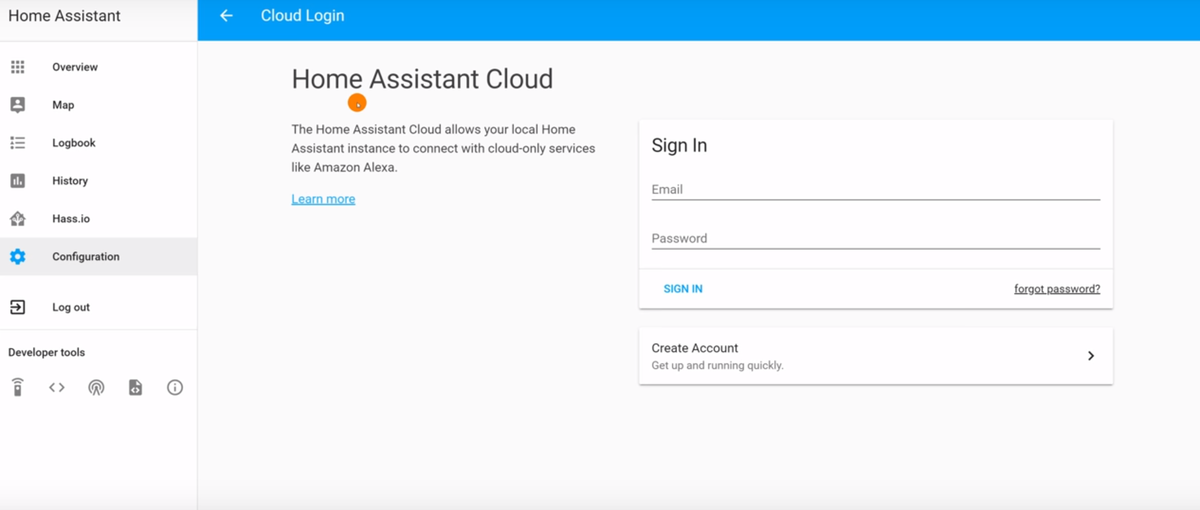
This section contains options that allow you to customize the system. First is Home assistant Cloud. This is the part to link Hass to Google Home. You need 1 account registration and $ 5 per month to be able to link to Google Home. But don’t be sad, there are still many free ways. You see IFTTT.
The second item is Integrations. This is an easy way to integrate devices into Hass, but not all devices can be linked here, some are available, some must be self-contained.
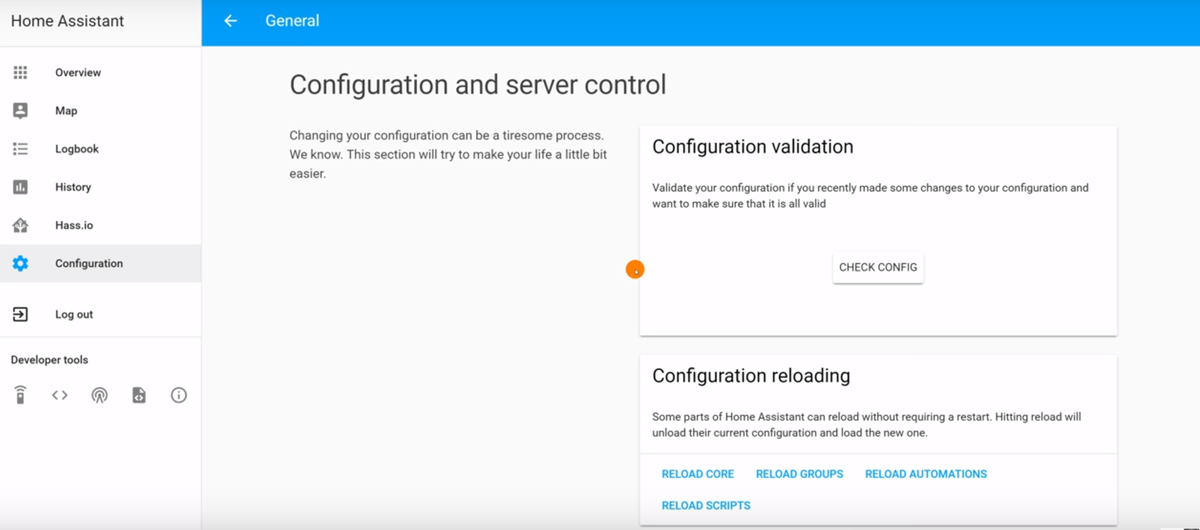
The third item is General, inside contains important features such as CHECK CONFIG, RESTART, RELOAD …
- CHECK CONFIG helps you check if your code has errors. Because if there is an error that is not corrected and deliberately restarted, it is possible to receive results that are not in hass anymore, so the check config before restarting is very important.
- RELOAD: when you adjust the Automations, Script codes, Group does not need RESTART but only RELOAD, your code is already valid.
- RESTART: when you have to change the code in other parts what is in Reload (Automations, Groups, Scripts, then you have to restart. Don’t forget the check config
Automations, scripts and scripts will give you a visual tool to create rather than just code
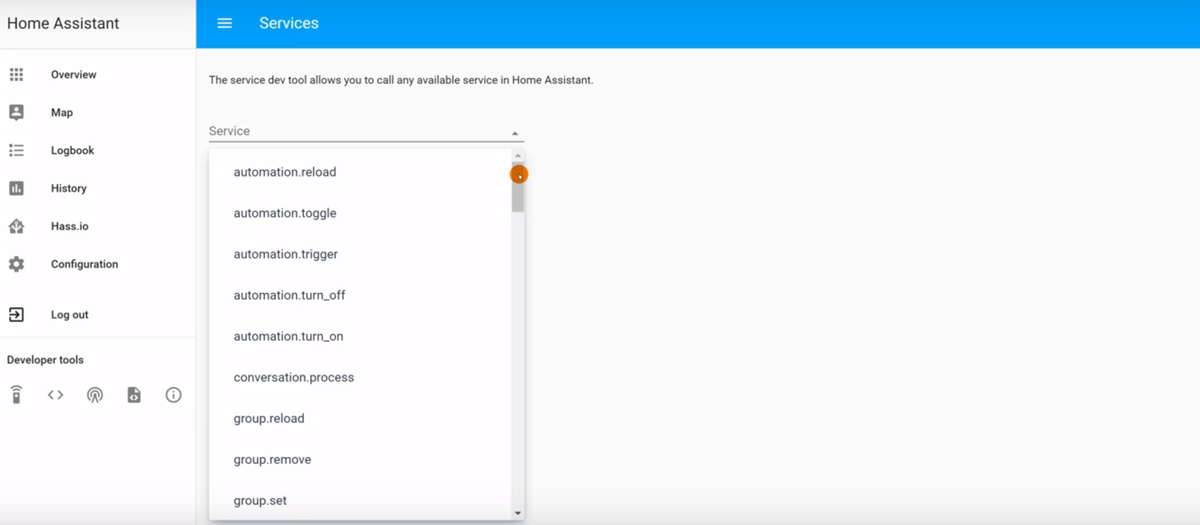
6/ Developer Tools – Service:
Once you have integrated a switch or a device into Hass, then for each switch or device must take actions to implement such as opening, turning off, adjusting the brightness … then each action It’s called a service. We have services such as turn_on, turn_off and accompanying switch or light we have switch.turn_on, switch.turn_off … You will better understand when entering the code.
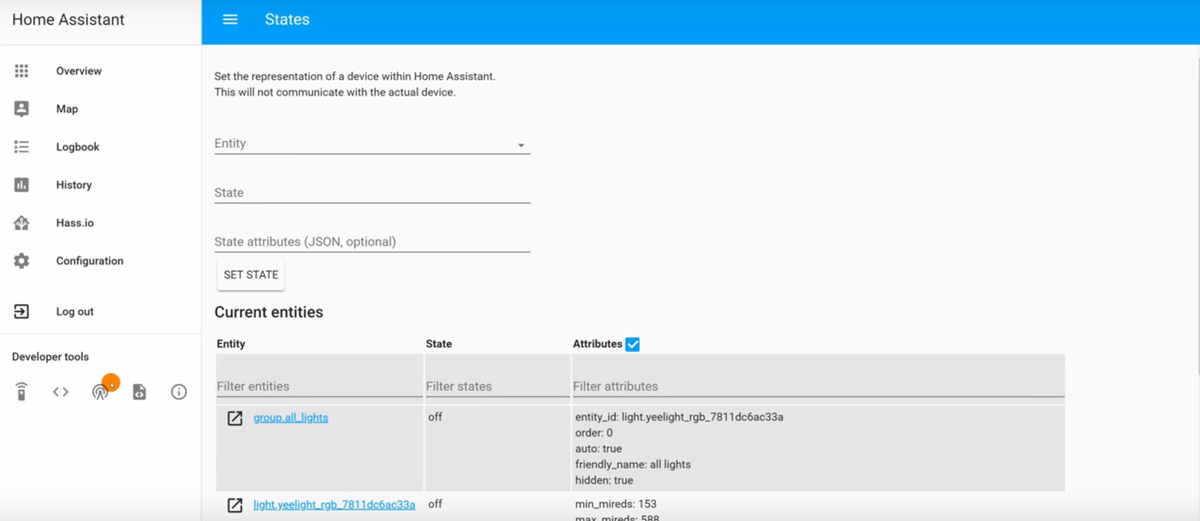
7 / Developer Tool – States (image <>)
States are the state, and as the name suggests, it will show you the status of the devices as well as the names in the code, as well as the properties (atrributes) of the device (you distinguish the name in the code – name and name outside the interface – friendly_name). When you need to look up information of each device we will re-enter this item.
8 / Developer Tools info (i-shaped in circle):
This tool helps you see current version information, help you see Log to fix when there is an error. These are the 2 main features that you need to pay attention to.
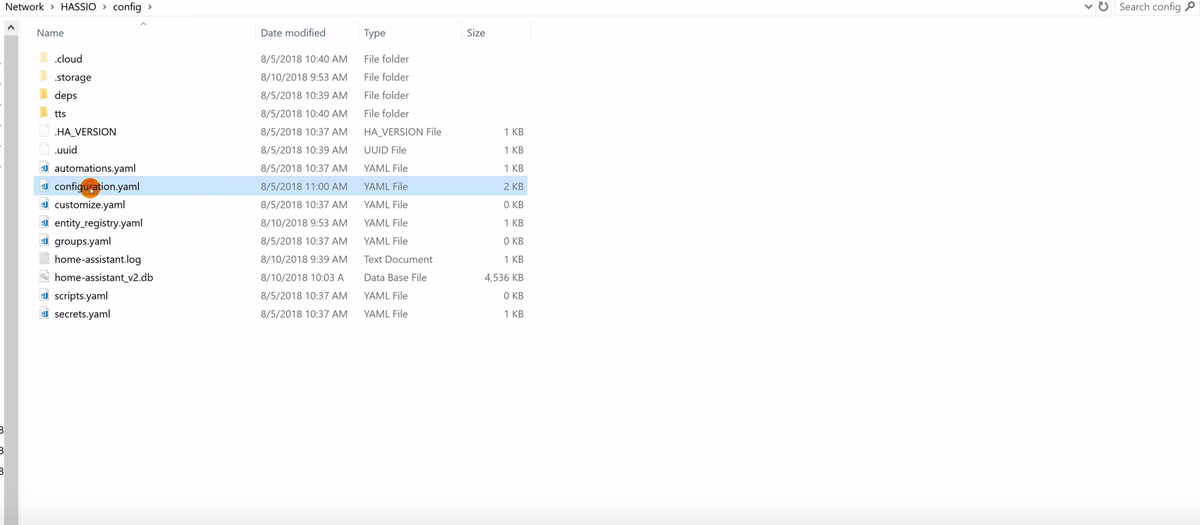
9 / Configuration.yaml:
This is the file that contains our main code.
Remember the following code:
- Each line of code down the line must indent 2 spaces compared to its superior line. The indented lines are at the same level.
- After a colon (“:”), one space must be separated
Basic codes like:
- frontend: enable interface feature for hass, if you leave this line, hass no longer has interface.
- http: used to configure domain, SSL, api_pass and more
- discovery: turn on self-add supported devices (some devices of course, not all)
So you’ve got to know the key points of Hassio. It’s easy.