First, please back up all device data to prevent possible unfortunate circumstances. On iPhone, please access Settings> iCloud Account> iCloud> Backup iCloud (Setting> Apple ID> iCloud> iCloud backup) and turn it on to make backup.
INSTRUCTIONS FOR DOWNGRADING IOS 13 ON IOS 12

Step 1: Download the latest iOS 12 (IPSW) version that fits your device. Please visit the link HERE .
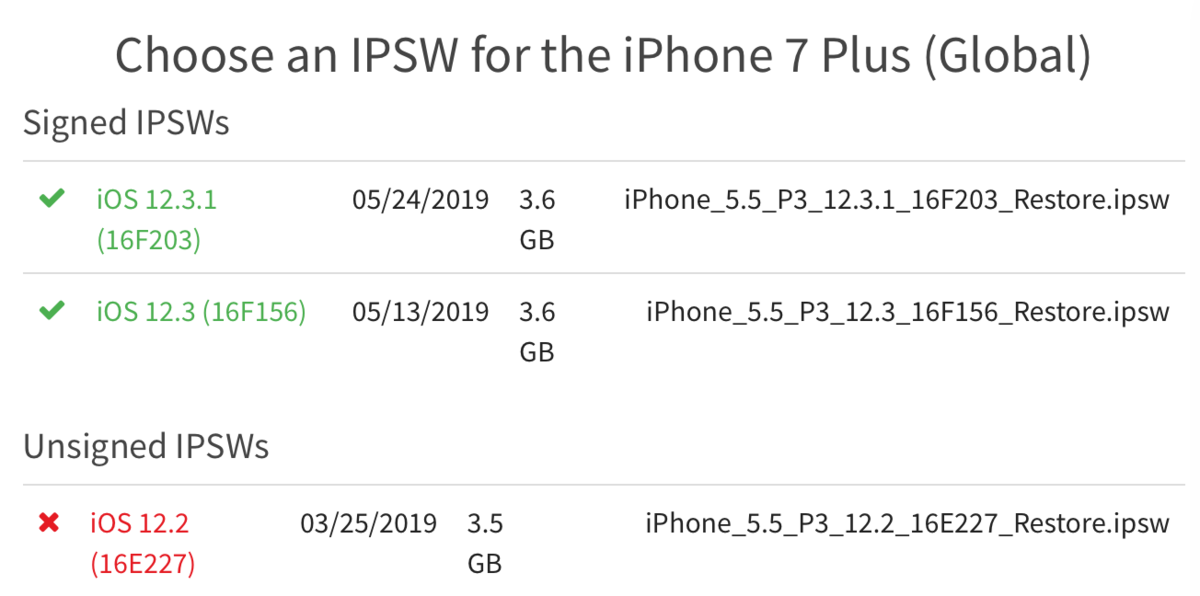
Step 2: Select the iOS version you want to downgrade. Of course, you can only select Apple versions without sign.
As shown above, we can choose iOS 12.3.1 and iOS 12.3 versions. I will choose iOS version 12.3.1.
Step 3: Download iTunes to proceed with downgrade. Download iTunes HERE
Step 4: Connect iPhone to computer.
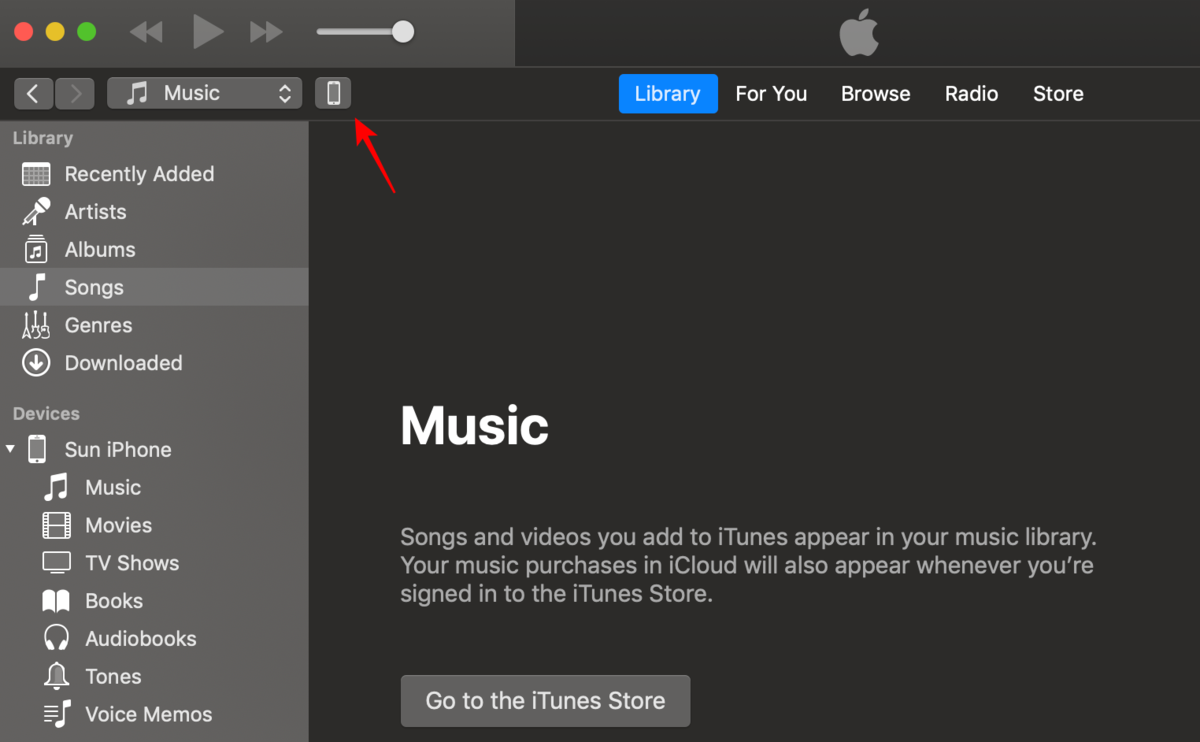
Step 5: Select the phone icon on iTunes.
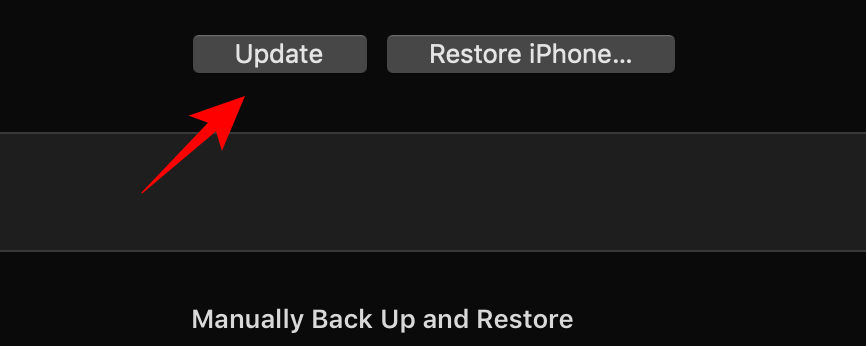
Step 6: Hold down the Shift key on the keyboard + left mouse on the Windows operating system (Shift + Option + left mouse on macOS) on Check for updates (Update). Continue, select the version of iOS you just downloaded and select that version.
Note during the update process
– Do not use the phone during the update process
– Do not unplug the cable in the middle of the update
Step 7: At this point, you can sip a cup of tea and wait for the downgrade process to complete iOS 12